If you’ve been working with the Adafruit Feather nRF52840 Express, you know it’s a powerhouse for Bluetooth and CircuitPython. But like any development board, things can go south. Maybe you flashed a bad hex file, or perhaps the bootloader was accidentally wiped while experimenting with bare-metal Rust. Recently, I found myself with a "bricked" board: no USB drive appearing, no response from the Reset button, and no way to upload code. Here is the exact process I used to bring it back to life.
The Problem: The Bootloader is NOT in ROM #
Unlike some chips that have a permanent factory bootloader in Read-Only Memory (ROM), the nRF52840 stores its UF2 Bootloader in its 1MB internal flash memory. If that flash is wiped or corrupted, the board "dies." You can't fix it via USB; you have to go "under the hood" using the SWD (Serial Wire Debug) pins.
The Failed Attempt: ST-LINK/V3 #
My first instinct was to grab STLINK-V3MINI.
1pyocd list
2  #   Probe/Board   Unique ID                  Target
3-------------------------------------------------------
4  0   STLINK-V3     002E003C3431511731343632   n/a
I connected the pins using BTB connector:
| JTAG Adapter Board | STLINK-V3MINI |
|---|---|
| TMS | TMS |
| TCK | CLK |
| GND | GND |
| VREF | VCC (3.3V) |
I kept hitting this error in pyOCD:
1pyocd commander -t nrf52840
20000385 E Error reading AP#0 IDR: STLink error (5): No device connected [discovery]
30000409 E Error while initing target: STLink error (5): No device connected [commander]
Why did it fail? #
- Protocol Mismatch: The nRF52840 requires SWD, but I was wired for JTAG.
- Vendor Lock-in: The ST-LINK/V3 is heavily optimized for STM32 chips. Its firmware often refuses to talk to "foreign" silicon like Nordic’s nRF series without significant configuration headache.
The Solution: Mini DAPLink to the Rescue #
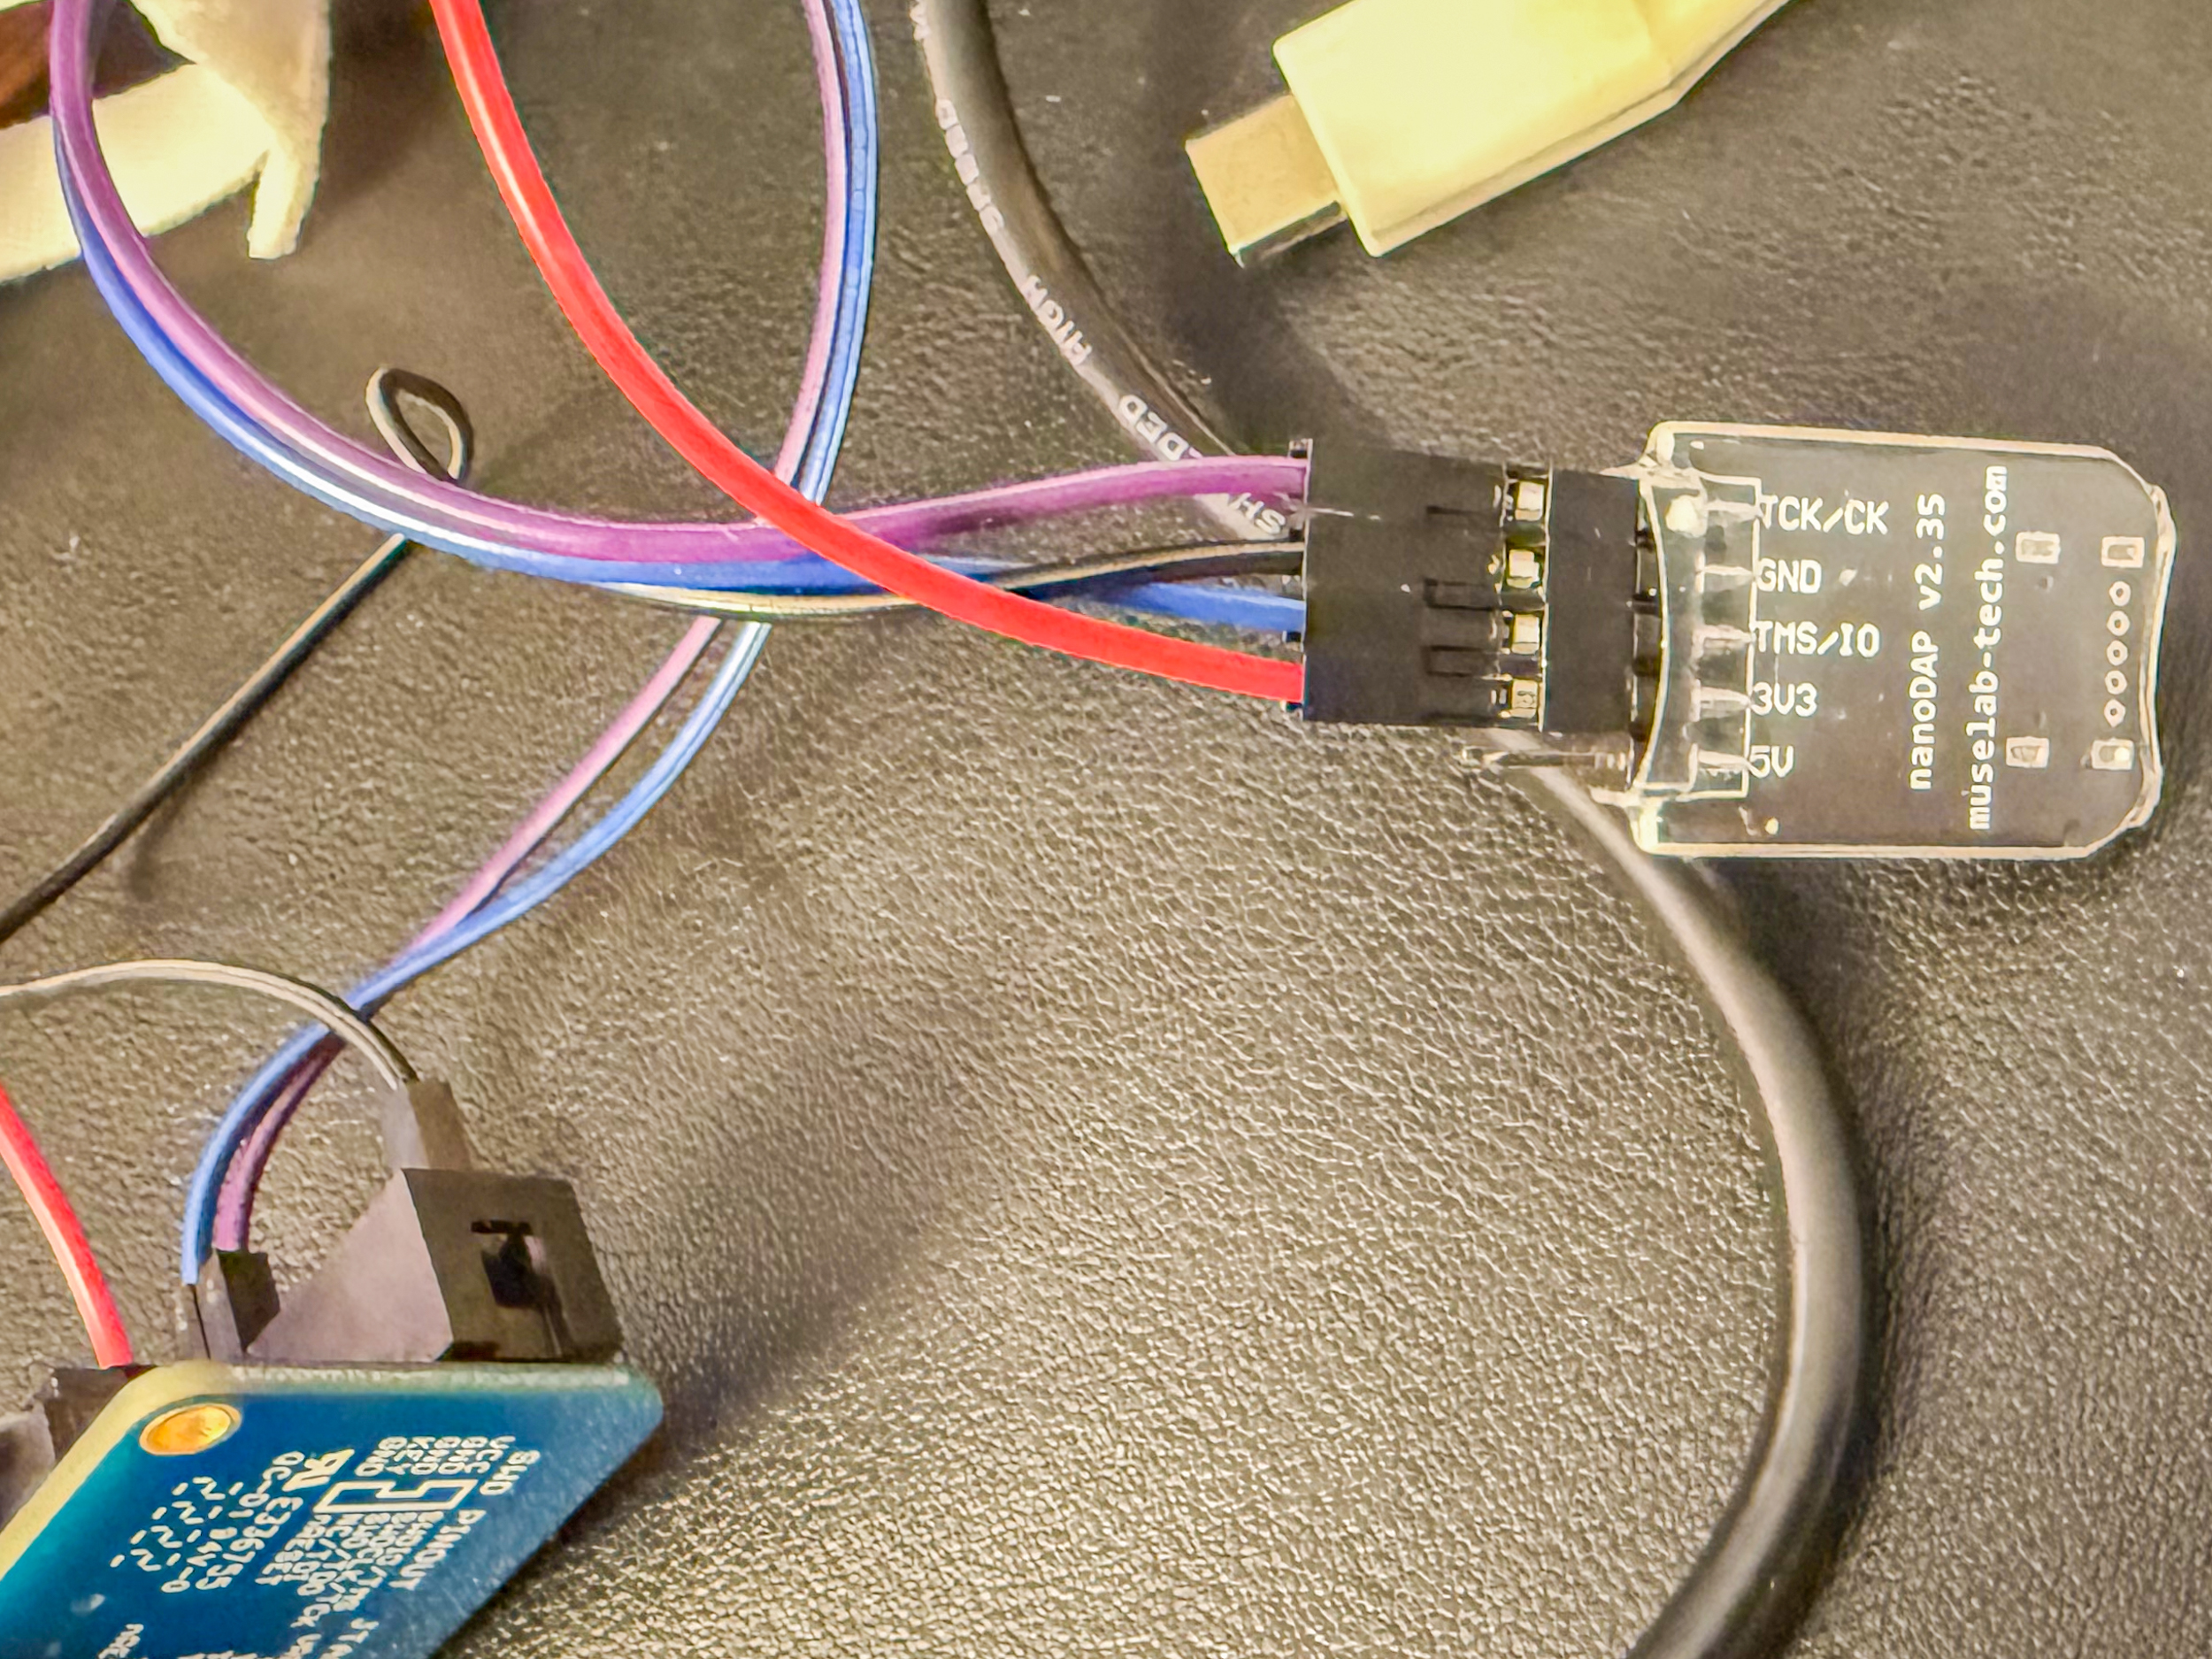
I switched to a Mini DAPLink Debug Probe. This uses the CMSIS-DAP open standard, which is vendor-agnostic. It doesn't care if your chip is from ST, Nordic, or NXP, it just works.
Step 1: The Connections #
I used Adafruit JTAG to SWD Cable Adapter Board. It has handy diagram printed on it for connecting SWD:
 I used the 4-wire SWD setup on Mini DAPLink:
| JTAG Adapter Board | Mini DAPLink |
|---|---|
| TMS | SWDIO |
| TCK | SWCLK |
| GND | GND |
| VREF | VCC (3.3V) |
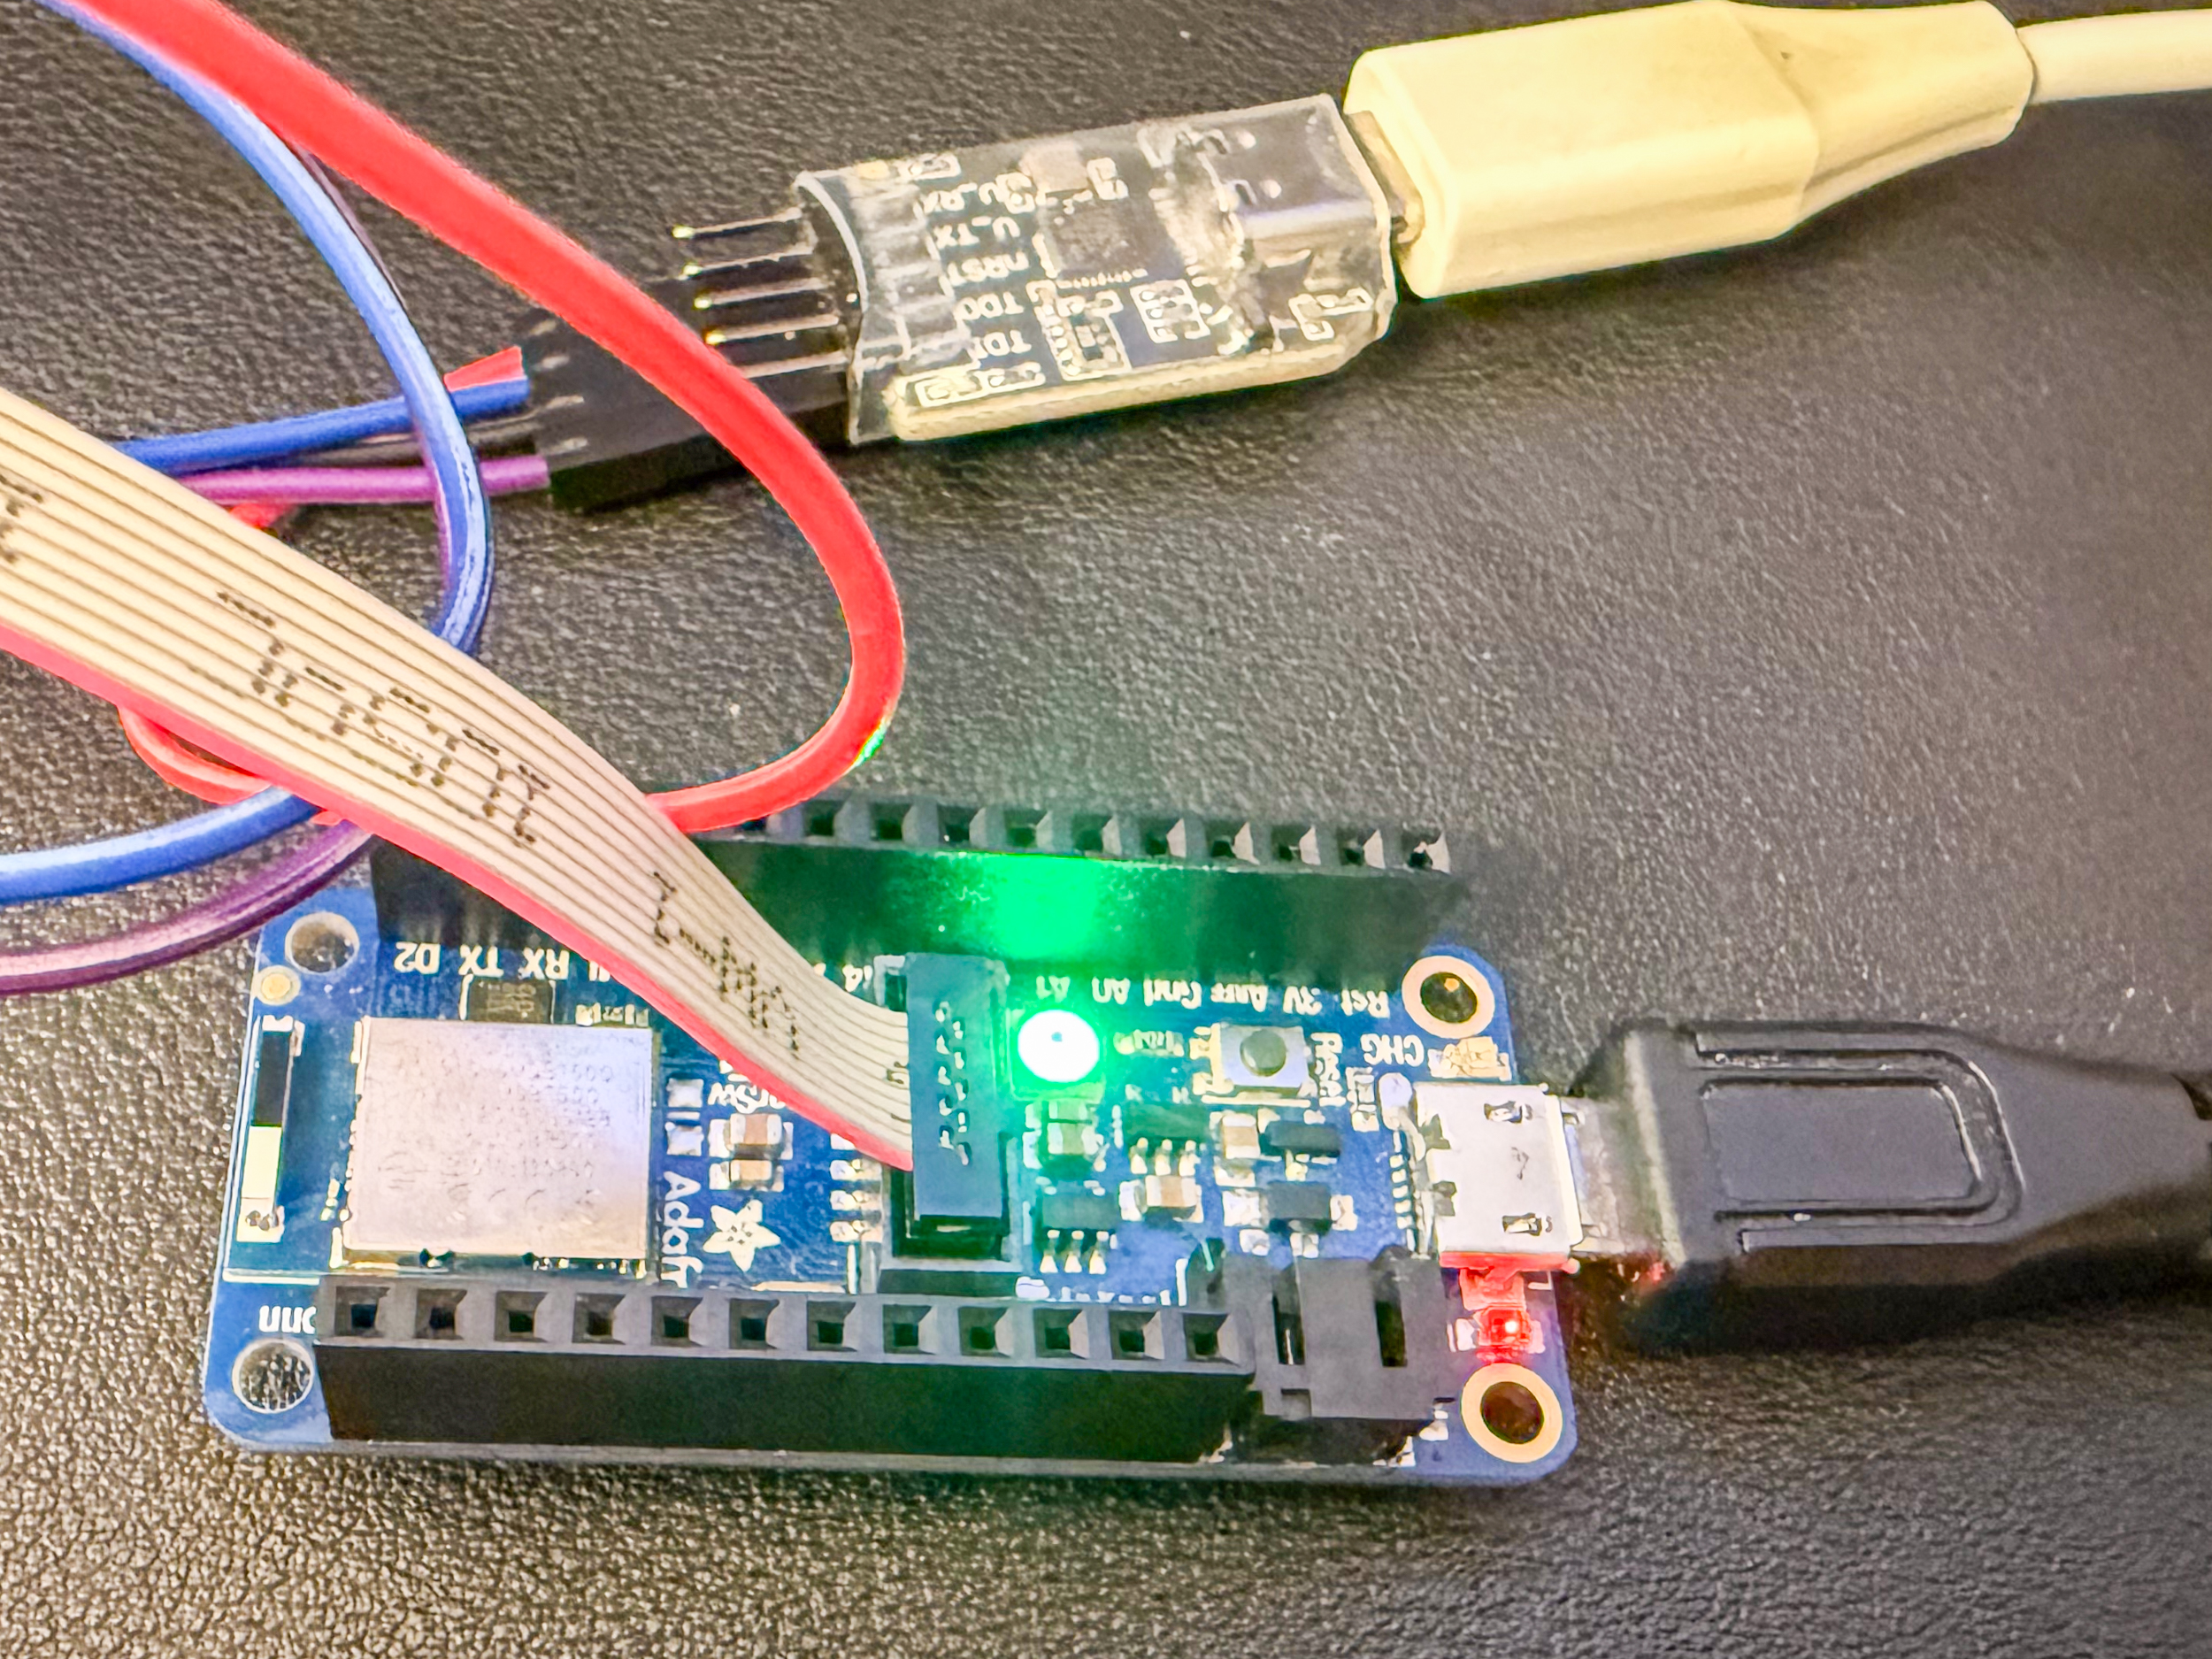
Note: I kept the Feather plugged into my laptop via USB for power.
Step 2: The Software (pyOCD) #
I used pyOCD, a modern Python-based tool for programming ARM chips.
1pyocd list
2  #   Probe/Board             Unique ID                                          Target
3------------------------------------------------------------------------------------------------
4  0   ARM DAPLink CMSIS-DAP   070000814646a27a0231323936373657a5a5a5a597969908   ✖︎ stm32f103rb
5      NUCLEO-F103RB
First, I verified the connection:
1pyocd commander -t nrf52840
2Connected to NRF52840 [Sleeping]: 070000814646a27a0231323936373657a5a5a5a597969908
3pyocd> exit
Step 3: Flashing the Bootloader #
I downloaded the latest factory bootloader .hex file from Adafruit’s GitHub. This file is special because it contains both the Bootloader and the Nordic SoftDevice (the Bluetooth stack). I ran the following command to wipe the chip and install the new firmware:
1pyocd flash feather_nrf52840_express_bootloader-0.9.2_s140_6.1.1.hex --target nrf52840
20000459 I Loading ~/Downloads/feather_nrf52840_express_bootloader-0.9.2_s140_6.1.1.hex [load_cmd]
3[==================================================] 100%
40012925 I Erased 1024 bytes (1 sector), programmed 1024 bytes (1 page), skipped 192512 bytes (47 pages) at 15.26 kB/s [loader]
The Result: Back to Life! #
The terminal showed 100% progress. I unplugged the DAPLink, double-clicked the Reset button on the Feather, and magic FTHR840BOOT drive appeared on my desktop. The NeoPixel turned green, and I was able to upload a Blink sketch from the Arduino IDE immediately.
Lessons Learned #
- DAPLink is King: If you aren't working on an STM32, don't struggle with an ST-Link. A CMSIS-DAP/DAPLink probe is much more compatible with the wider ARM ecosystem.
- Hex vs UF2: When unbricking via SWD, always use the .hex file, not the .uf2. The .hex file contains the low-level bits required to start the chip from scratch.
- Chip Erase is Your Friend: If you get "skipped page" errors during flashing, use the --chip_erase flag to ensure a clean slate.
Happy Hacking!